
Outdoor Gear Maintenance Checklist: A Simple System for Cleaning, Repair, and Storage
Gear maintenance is easiest when it is part of unpacking, not a separate project postponed until the next trip. Move every item through the same sequence: empty, dry, inspect, clean as directed, repair or restock, record the result, and only then return it to ready storage.
The Direct Answer: Close Every Trip With a Gear Reset
Create one temporary landing zone for unpacked gear and four clear states: ready, drying, repair or restock, and retire or evaluate. An item leaves the landing zone only when its next state is known. This prevents damp gear from disappearing into a bin and broken gear from looking available in a future packing list.
Ready
Clean enough, dry, complete, and available for a pack list.
Drying
Not yet safe to return to storage; keep it visible until the process is finished.
Repair or restock
Needs a defined action, part, supply, or professional service before the next trip.
Retire or evaluate
No longer dependable for its intended role; keep it out of ready storage while deciding its next use.
The Post-Trip Maintenance Checklist
- 1. Empty everything. Open every pocket, stuff sack, cook pot, and small case. Remove food, water, fuel, trash, batteries that require separate storage, and personal items.
- 2. Separate wet and dirty gear. Move damp shelter, clothing, footwear, and sleep gear into an open drying area. Keep mud and food residue away from items that are already clean.
- 3. Inspect by system. Check parts that make the item work: closures, seams, valves, buckles, cords, poles, filters, connectors, and batteries. Write the action down instead of trusting yourself to remember it.
- 4. Clean by the maker's instructions. Materials and treatments differ. Use the product care label or manufacturer procedure for washing, drying, waterproofing, lubricating, and storing each item.
- 5. Repair and restock. Complete simple approved repairs, arrange professional work when needed, and replace used consumables. Keep unfinished items out of the ready zone.
- 6. Update the record. Note condition, repair status, missing parts, and storage location. Return only dry, complete gear to its named home.
REI's reviewed guide to cleaning and storing camping and hiking gear is a useful starting point across tents, sleep systems, packs, footwear, and rainwear. Product-specific instructions remain the final source for the item in your hands.
Use a System-by-System Maintenance Matrix
| Gear system | After each trip | Seasonal review |
|---|---|---|
| Shelter | Dry fully; remove loose dirt; check poles, stakes, guylines, zippers, and fabric. | Clean only as directed; review seam treatment and repair damage before storage. |
| Sleep | Air out insulation; dry damp pieces; inspect pad, valve, and sleeping bag or quilt shell. | Clean by the care label; test pad inflation; store insulation according to maker guidance. |
| Kitchen and water | Empty, wash, and dry food-contact items; remove fuel; inspect stove and treatment system. | Follow product procedures for deeper cleaning, filter storage, and replacement parts. |
| Footwear and clothing | Dry away from damaging heat; remove dirt; empty pockets; note worn tread, seams, or closures. | Wash and restore finishes only as the care instructions specify; retire unreliable items. |
| Electronics and repair | Power down, dry, recharge, and inspect cables; replace used repair and first-aid supplies. | Check battery condition, update required software, and test the complete charging setup. |
The matrix is deliberately action-based rather than calendar-based. How often an item needs deeper service depends on its material, use, storage conditions, and manufacturer guidance. Schedule a seasonal review around your own trip cycle instead of inventing one interval for every product.
Build a Repair Queue That Cannot Hide
Give damaged or incomplete gear one visible location. Attach a note with the item, the problem, the next action, and any part or service required. “Tent needs work” is not enough; “replace bent pole segment before the September trip” is actionable.
The four-field repair note
- □ Exact item and affected part
- □ Problem observed and when
- □ Next action or service
- □ Trip deadline or replacement decision
Before a trip, review the queue before building the pack list. If a critical item is not ready, replace it with a tested alternative or change the plan. Do not let a digital checklist turn an unavailable item into an imaginary one.
Track Condition Alongside Your Gear Inventory
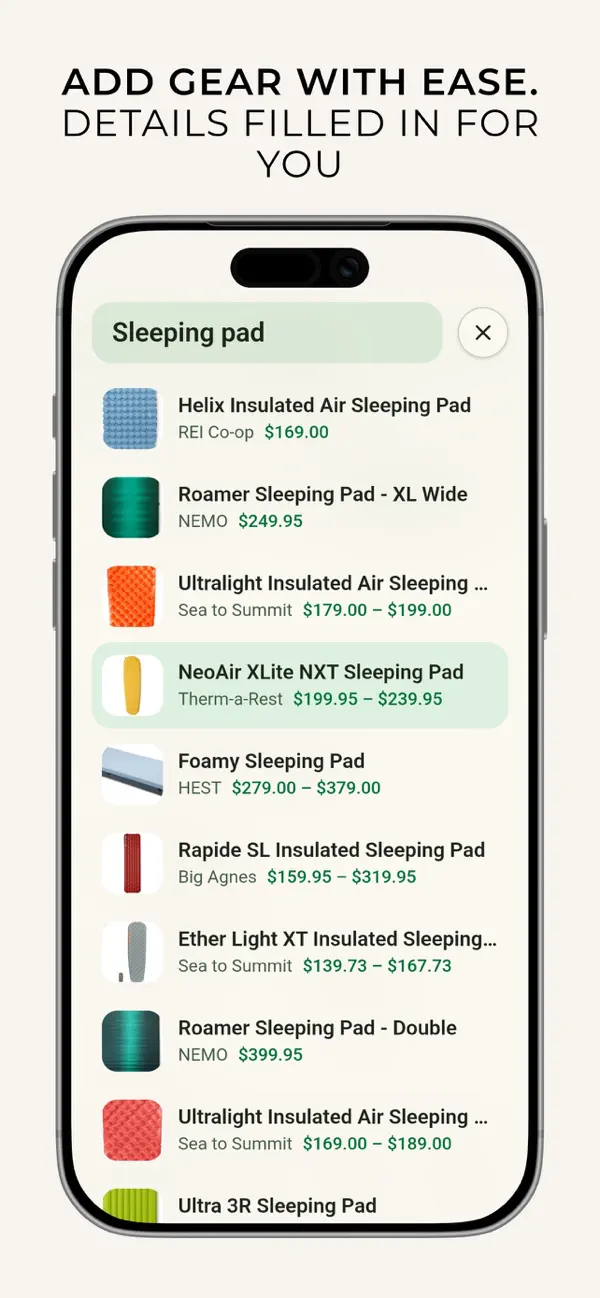
A useful inventory says more than what you own. Add a short condition note, storage location, and the action required before reuse. In MetaGear, Gear Locker can keep item photos, links, notes, weight, price, and custom details together, while the same item remains reusable across pack lists.
Pair this checklist with the full outdoor gear organization system to name physical storage locations. When the repair queue reveals a genuine replacement need, use the trip-first gear comparison method instead of shopping from a generic ranking.