
How to Organize Outdoor Gear: A Storage and Inventory System That Stays Useful
A good gear system answers three questions without a search party: What do I own? Where is it? Is it ready for the next trip? The most reliable setup connects labeled physical storage to a small digital inventory, then uses the same reset routine after every outing.
The Direct Answer: Organize by Use, Then Record by Item
Start with broad activity zones such as backpacking, car camping, climbing, cycling, and trail running. Inside each zone, group gear by the system it serves: shelter, sleep, kitchen, water, clothing, navigation, electronics, and repair. Give every container or shelf a plain location name. Finally, keep an inventory that connects each item to its category and location.
This two-layer method avoids a common mistake. Organizing only by sport duplicates shared gear across several places; organizing only by product type scatters one trip across the whole house. Activity zones keep trip prep intuitive, while system categories keep the inventory consistent.
Build Five Physical Zones
- 1. The ready zone. Keep frequently used, trip-ready items together: daypack, headlamp, rain shell, water treatment, small first-aid kit, and the current season's core gear. This is the shelf you should be able to pack from quickly.
- 2. The system bins. Use one clearly labeled bin or shelf section for each working system. Transparent containers help, but a readable label matters more than the container. Avoid labels like “miscellaneous”; they describe a future search, not a location.
- 3. The dry-out zone. Wet tents, rainwear, footwear, and water filters should not return directly to long-term storage. Give damp gear a temporary, visible place where it can finish drying according to its care directions.
- 4. The repair queue. Put damaged or incomplete gear in one place with a note attached. A broken buckle hidden inside its normal bin looks ready until the night before a trip.
- 5. The archive. Off-season and rarely used equipment can live farther away. Keep it findable in the inventory, but do not let it crowd the ready zone.
Storage requirements vary by material and product. Follow the maker's instructions for your equipment. For example, REI's reviewed guidance on cleaning and storing camping and hiking gear emphasizes drying tents before storage and storing insulated sleeping bags loose rather than compressed.
Create a Digital Outdoor Gear Inventory
An inventory should reduce decisions, not become a second hobby. Add only fields that help you find, pack, compare, maintain, or replace an item. Start with the five below.
| Field | Why keep it | Example |
|---|---|---|
| Item and category | Makes filtering and building a trip list fast. | Sleeping pad / Sleep system |
| Weight and quantity | Lets the same inventory power pack-weight analysis. | 16 oz / 1 |
| Storage location | Answers where the item physically lives. | Closet B / shelf 2 / blue bin |
| Condition or note | Captures repairs, missing parts, or a drying reminder. | Patch checked; replace valve tool |
| Price and product link | Preserves purchase context for replacement or comparison. | $129 / manufacturer page |
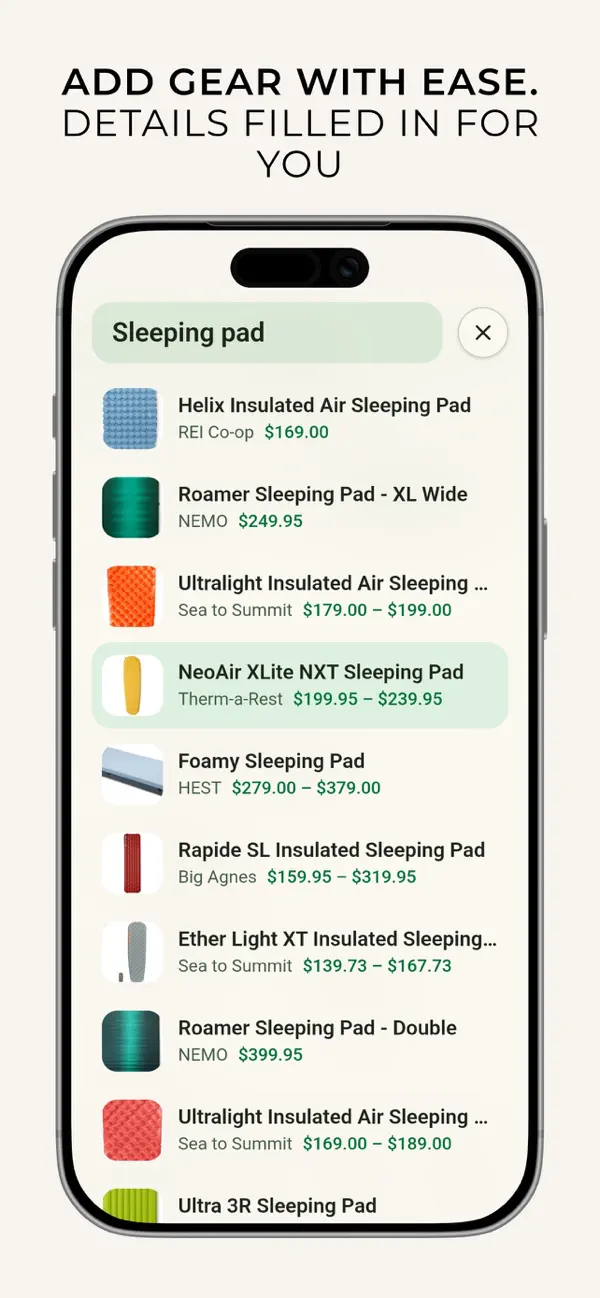
A spreadsheet can handle this structure. A gear-aware app becomes useful when the same item needs to appear in several pack lists, contribute to weight and cost totals, and remain connected to photos, links, and notes. MetaGear's Gear Locker stores those details once; Smart Search can complete known product details, and the saved item can then be reused across lists.
Use the One-Trip Reset
The system stays accurate only if every trip closes with a reset. Empty the vehicle and packs into the dry-out zone. Clean and dry what needs attention. Move damaged items to the repair queue. Restock consumables. Return ready gear to its labeled home, then update any location or condition notes while the trip is still fresh.
The outdoor gear maintenance checklist turns this reset into clear ready, drying, repair, and retirement states for every item.
The 10-minute reset checklist
- □ Empty every pocket and stuff sack
- □ Separate wet and dirty gear
- □ Record damage or missing parts
- □ Restock fuel, batteries, and first aid
- □ Return each item to its named location
- □ Update the next trip list
When the next trip arrives, build from the inventory instead of searching the house. For a complete trip workflow, use the backpacking checklist system or the reusable camping packing list. If the inventory exposes several similar options, use a consistent outdoor gear comparison method before buying another one.