
Bikepacking Packing List: What to Bring and Where to Carry It
A bikepacking list has two jobs: cover the same camp systems as a backpacking kit and keep the bike rideable, repairable, and practical between stops. Build the list by function first. Only then assign each item to a bag based on access, density, volume, weather protection, and bike clearance.
Before the Checklist: Define the Route
Start with surface, distance between resupply points, expected weather, water availability, remoteness, overnight style, and the repair services you can realistically reach. A credit-card overnighter and a remote multi-day route may use the same bike but need very different shelter, food, water, power, and spare parts.
Check current route conditions, land-manager rules, transport constraints, and any event requirements directly. A general list can prevent common omissions; it cannot know the conditions of your ride. For another established category reference, review REI's bikepacking checklist.
The Complete Bikepacking Checklist by System
Bike and carry system
- Bike suited to the route and inspected before departure
- Helmet, front and rear lights, and any locally required visibility gear
- Frame, seat, handlebar, top-tube, fork, or pannier bags as appropriate
- Straps or attachment hardware, checked for tire and cable clearance
- Lock if the route includes unattended stops
Repair and spares
- Pump and inflation tool appropriate to your setup
- Tube or tubeless repair supplies that match your wheel and tire system
- Tire levers, bike-specific multitool, and chain repair parts
- Small general repair kit with tape, ties, and a spare strap
- Route-specific spares based on remoteness and service availability
Shelter and sleep
- Tent, tarp, bivy, or other shelter with required stakes and lines
- Sleeping bag or quilt appropriate to expected conditions
- Sleeping pad and repair patch if applicable
- Dry sleep clothing and optional pillow
Food and water
- Water capacity for the longest reliable gap, plus treatment when needed
- Food for the planned resupply interval and a route-appropriate buffer
- Stove, fuel, ignition, pot, and utensil if cooking
- Food storage required by the area you are traveling through
Clothing and personal
- Riding layers matched to weather and temperature range
- Insulation and rain protection
- Gloves, eye protection, and sun protection
- Personal medications, hygiene supplies, and first-aid items
Navigation and electronics
- Primary navigation with route data available offline
- Backup navigation appropriate to route complexity and remoteness
- Phone, charging cables, and a right-sized power source
- Communication or emergency device when the route warrants it
Separate carried gear from worn items and consumables when tracking weight. For bikepacking, it is also useful to distinguish equipment attached to the bike from food and water that will change through the day. The categories make the total explainable instead of producing one number with no packing plan behind it.
Where to Pack What
Keep dense items low and near the center of the bike when the frame and bag setup allow it. Put frequently used items where they can be reached without unpacking camp. Protect sleep clothing, insulation, and electronics from water using the level of protection appropriate to the bags and conditions. Then verify every mount on the actual bike.
| Bag location | Often works for | Verify on your bike |
|---|---|---|
| Top-tube or small access bag | Snacks, phone, sunscreen, small camera, frequently used items | Operable without interfering with pedaling or controls |
| Frame bag | Dense items such as tools, food, and some water storage | Balanced load and full clearance inside the frame |
| Handlebar roll | Bulky, relatively light items such as a sleep system or shelter | Tire, cable, light, and hand-position clearance |
| Seat pack | Compressible clothing and camp items used at the end of the day | Stable attachment with no sway or tire contact |
| Fork bags or panniers | Extra capacity, food, or route-specific equipment | Mount limits, heel clearance, and left-right balance |
Bag volume is not the only limit. A setup can technically contain everything and still be awkward because one bag sways, blocks a light, rubs a tire, interferes with cables, or makes a needed layer hard to reach. Treat placement as part of the checklist, not a last-minute puzzle.
Build a List That Remembers Bag Location
Add a short location note to each item: frame bag left, handlebar dry bag, seat pack outer layer, top-tube access, or worn. That note turns a gear list into a loading plan. It also makes repacking after a resupply or wet night much faster because every item has a home.
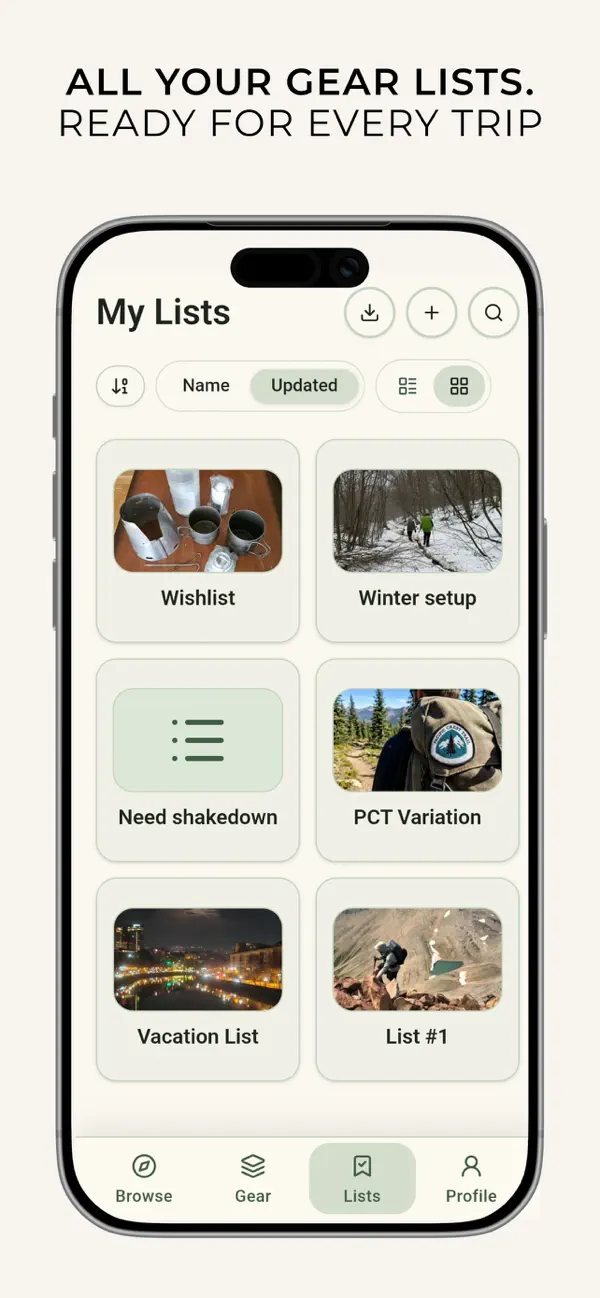
In MetaGear, save equipment in the Gear Locker and create separate lists for an overnighter, a longer resupply route, or a cold-weather variation. Notes can preserve bag location, while list analytics show category weight and cost. Checklist Mode provides the final physical check on departure day.
Do a Loaded Shakedown Ride
Pack the exact list and ride the loaded bike before the trip. Use the surfaces you expect, test braking and low-speed handling, listen for movement, inspect every attachment point, and confirm that high-use gear is accessible. Set up camp from the packed bike, then repack it. The rehearsal finds placement problems that a spreadsheet cannot.
After the ride, mark what moved, what was difficult to reach, and what never earned its space. For feedback from other riders, publish the list using the methods in our guide to sharing a gear list online. If your trip is primarily on foot, start with the separate backpacking checklist instead.